Symptoms
I had noticed that my break lever was getting softer and softer. I used the cable adjuster to the point that I couldn't take any more slack out of the brake cable. The arm on the brake cam was running out of room to swing. I took more slack out of the brake cable, but found that the brake cam arm was simply bottoming out, without a lot of brake action going on. The brake pads were worn out.
Time Required
I spent about 2 hours doing this, including time spent to take pictures and make a few notes for this blog.
Tools Required
- Flat Bladed Screwdrivers a few large and one small.
- Sockets - 10mm and 19mm.
- 8mm open-ended wrench.
- Torque wrench.
- Third-hand tool or vice grip pliers.
- Circlip tool or needle nose pliers.
- Hammer.
- Replacement brake shoes.
- Front hub nut (optional, but good to have on hand, just in case).
- General purpose grease.
Begin by putting a few blocks under the center stand, so that the front wheel remains comfortably off the ground.

Take your pliers, and untangle the brake cable from the retaining hook, and loosen the 10mm nut, allowing the brake cam arm to slide loose on the brake cable.

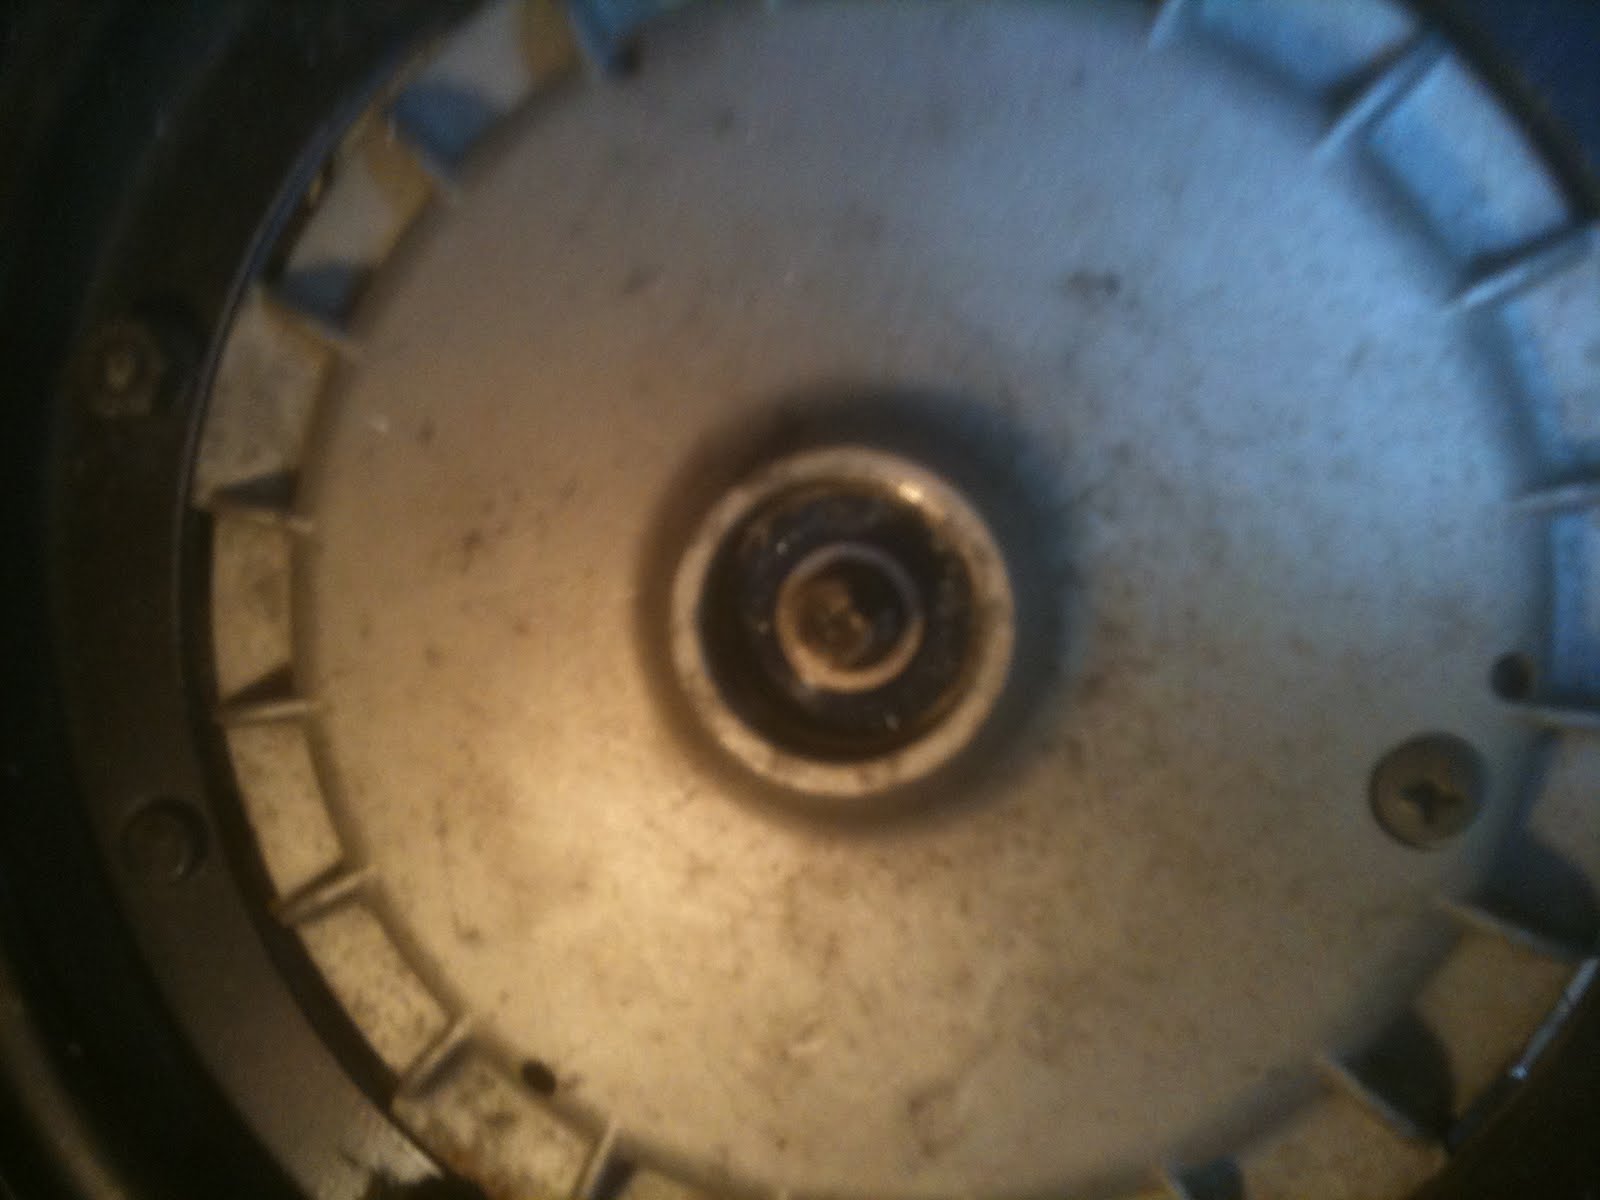
Now, go around the other side. Take a screwdriver, and pry the hubcap off the front hub.

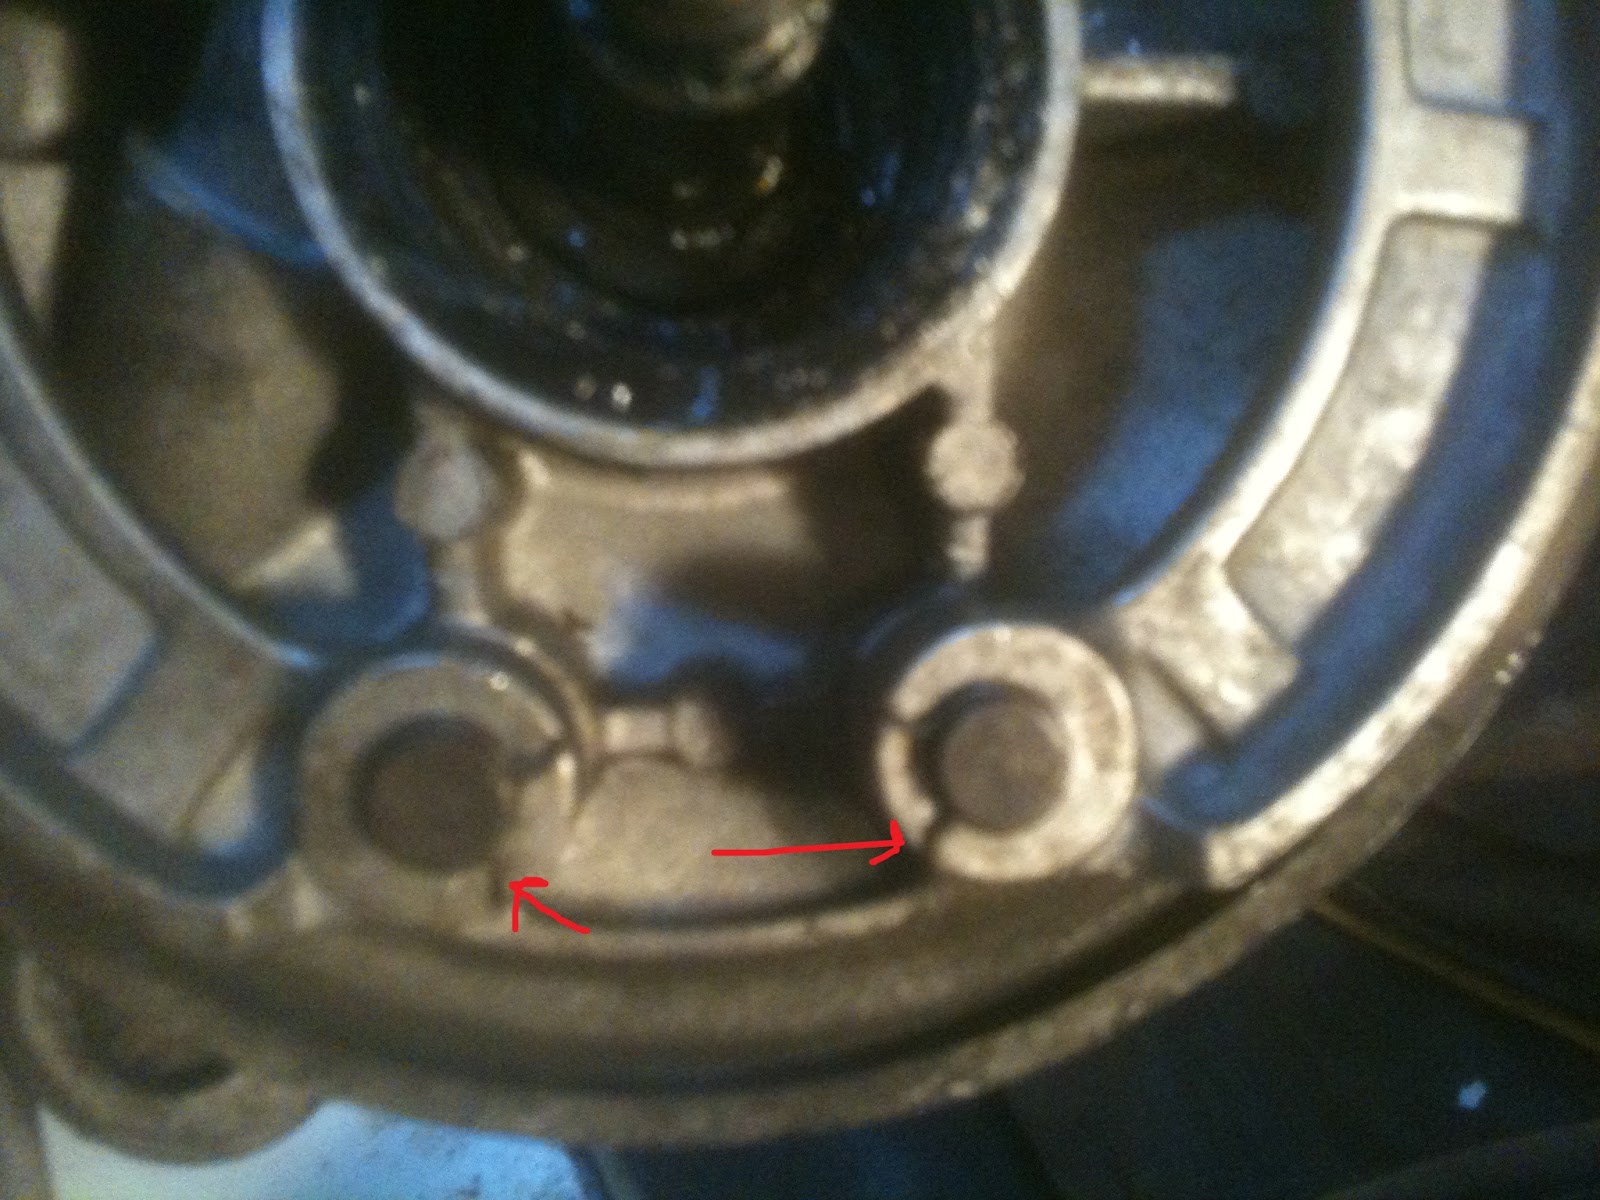
Beneath, you'll find the front hub nut. I wiped off the grease so you can see the obnoxious way in which it is secured. There is a thin spot on the edge of the nut which is driven into the notch in the axle. This prevents the nut from unscrewing. I've indicated where the nut has been dented in, preventing it from backing out.

Remove the dent in the nut by sticking a screwdriver in the slot, and prying it outward. If you're lucky, that will be sufficient. I was not so lucky with the first nut I had on this bike, and ended up having to use an impact wrench to get it off. I was more careful than the previous person when I installed the replacement nut, and didn't have problems removing it this time. In this picture, you see me prying out the dent in the nut.

Once it's rounded out, put a 19mm socket on there, and remove the nut. The axle is fixed, so you won't need to hold the tire. If you're having trouble, give your socket wrench a little persuasion with a hammer, or double-check that you've really got that notch rounded back out.

Mop the rest of the grease out of there, and you should find a circlip in front of the bearing. Note, I've got a nice sealed bearing in there. I put that in there about 1100 miles ago, when I did my rebuild, so it's looking pretty pristine.

Pop that circlip out of there using circlip pliers or needle nose pliers. I ended up using needle nose. My circlip pliers are too flimsy.

At this point, you can remove the front wheel. I didn't take a picture, but I took a hammer, and tapped around the tire on the back side from these views, tapping the wheel and hub toward me. I just tapped the rubber of the tire itself, and not the hub or rims. I popped off the front wheel, and set it aside.

I took a peek at the back side of the hub, attached to the tire. I wanted to make sure everything looked relatively clean. This is a good time to wipe out any rubber brake pad shavings, and assure that the gear on the hub (which turns your speedo cable) looks OK. Try not to get grease on the outside of the hub (where the brakes rub) and try not to remove the grease from the gear on the hub (or re-grease it).

OK, on to the brakes. First thing we need to do is remove the little circlips from the brake pads. Be careful with them. They love to go flying across the room. I generally keep a finger over them at all times when I'm working, so that they can't spring away.

Now the wrestling match can begin. I usually begin by prying one of the pads up on the post side.

Then I stick a screwdriver or two under the cam side of the pad, and pry the pad away from the cam, as I lift it away from the hub.

Keep gently lifting away, and prying the cam sides of the pads away from the cam. Eventually, you can walk the pair of shoes (and spring) away from the hub.

Here are my old shoes with the spring. Remove the spring, and place it on the new shoes.
Now, as it happens, I wanted to use up some brake shoes I had from before my rebuild, so I put old shoes on 1100 miles ago, which are now worn out. I'm replacing them with another pair of worn shoes (ya, I'm that cheap). When these finally go, I'll buy some new ones. Anyway, my "new" shoes, are actually newer shoes. Here, I begin placing them back on the bike.
Line them up on the posts first, before worrying much about the cam.

At this point, the cam became a bit of a nuisance. The spring that helps return the cam to a neutral position kept slipping between the body of the hub and the cam arm. As a result, I couldn't get the cam fully inserted, and therefore, couldn't fit the brake shoes inside the cam.. Finally, I went around the back, and loosened the brake cable, and undid the cam spring temporarily.
So here's a view from the other side, I took the hook on the spring, and undid it, and released the tension. This allowed me to pull the spring out of the way, and fully insert the cam, so that I could install the brake shoes.

There. After a little wrestling, I got the shoes installed.

Now, I went around behind, and pushed the hook in the spring back into position. This picture is blurry, sorry. I've got the blade of my screwdriver in the hook of the spring, and I'm pushing it back around the edge, where the hook is supposed to go.

There, now it's time to reinstall the circlips.
Now, I put the wheel and hub back on the axle, gently tapping around the tire with a hammer to get it seated properly.
Now, I reinstalled the circlip, making sure that it snaps into the slot all the way around.

Now, reinstall the hub nut. Put it on until snug, and then use a torque wrench to secure it to 43.4 - 72.3 foot-pounds. I think they have that broad range because you have to be able to get the notch in the nut lined up with the notch in the axle. I got it to about 60 foot pounds, and things lined up nicely.

Once it was on at the right torque, and the notches were lined up, I dented the edge of the nut using a heavy screwdriver and hammer.

Next, I replaced the grease I had mopped out with a liberal amount of fresh grease. Note, with the sealed bearing, this probably isn't as critical. Still, I think the grease is a nice insulator to keep dust and water out of there, so I blop it in there!

Finally, I replaced the hub cap. I pressed it into place, then folded up a rag over it, and tapped it gently with a hammer (I was too lazy to stand up and get a rubber mallet out of my toolbox).

Finally, we need to go take the slack out of the brake line and tighten it up. Here's the brake all loosened up. Note, I also went around the other side, and screwed in the cable adjuster all the way, so that I could use it later, to snug the cable as the brake pads wear. That requires he 8mm open-ended wrench.

I don't have a third-hand tool. I just grabbed the end of the cable with some vice grips, and pulled on the cable, while pushing the brake arm forward a bit, then tightened the nut onto the cable (10mm socket).. I snugged it up, some, and tested it by pulling the hand lever. It felt good.
Once done, I folded the excess cable around and tucked it into the cable holder, as shown by the red line.

That's it! All done!
If you are also looking for the best and effective offer line for Brake Shoes Manufacturers, then there are so many companies in the market which always offer the best for this always. One should always choose the leading and the most famous company in the market which will always understand their requirement completely and offer the best for this also.
ReplyDeleteUnderstanding the whole process will help women a lot so that the car garage services cannot over bill you. And I am thankful to you for this step by step information, last month my car exhaust ditched me
ReplyDeleteThanks for the post!
ReplyDeleteFront brake pad replacement on a Vespa P200 is an important maintenance task to restore proper braking performance and safety. For those who prefer expert assistance, you can check brake pads replacement for professional and reliable service.
ReplyDelete
ReplyDeleteThanks for sharing this. I've been searching for someone who does auto body repair in Conshohocken. Do you know of anyone that could help?
auto repair near me